
The simple sliding function
In the left column, you’ll see a short video of the sliding function you’ll learn in this lesson.
This feature is especially useful if you have multiple points or a lot of information that doesn’t all fit on one slide.
Procedure
For this design, we need two slides. The first one is in the usual design. The second should be a simple slide with no other bells and whistles. If necessary, create a suitable slide in the slide master.
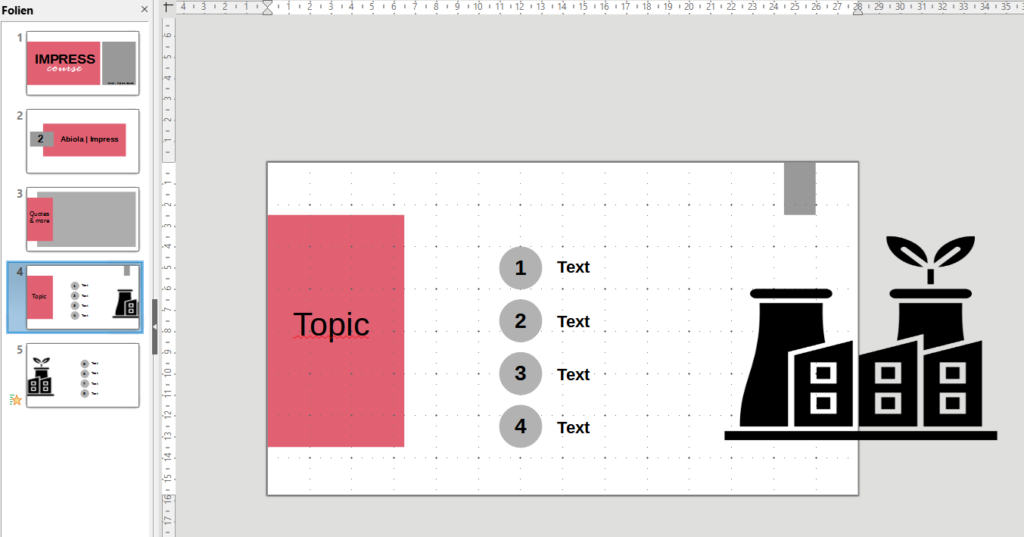
Choose an image or icon that can be easily divided into two parts. Paste it on the first slide on the right edge. Make sure it’s only half visible on the slide.
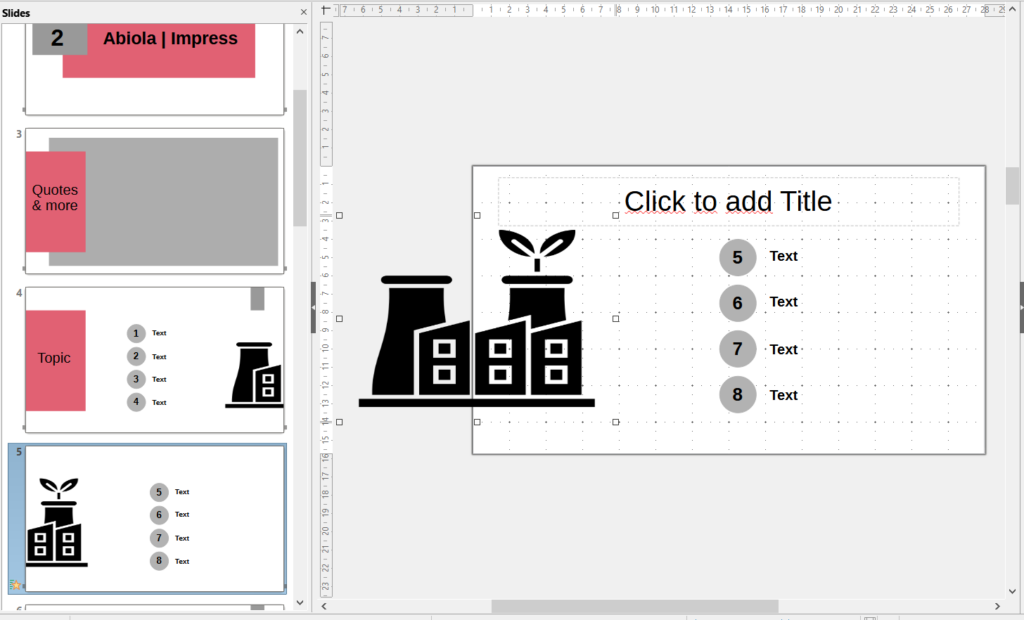
Copy the image. Paste it on the second slide and use the arrow keys to push it to the left end of the slide. Adjust it so that only half of the image is visible at a time. Go to presentation mode to check your arrangement.
Now insert your text.
Animation
To add the animation, click on the second (!) Slide and select the Slide Transitions icon on the right.
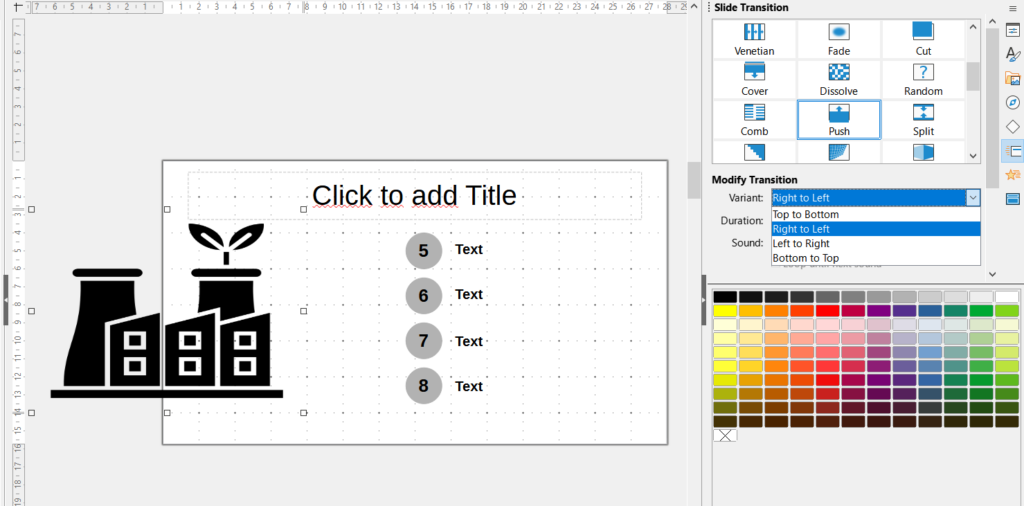
Select Print as the transition function.
In the “Variant” category, click on “right to left”
Now you can test the animation.
Press the F5 key or go to the Slide Show tab to open the presentation mode.