Here we go !
Open LibreOffice Impress.
When you open it, you’ll be asked if you want to use a document template. Since we’re creating our own template from scratch, you don’t select any and hit cancel.
You now have a blank slide in front of you as shown in the picture on the right.
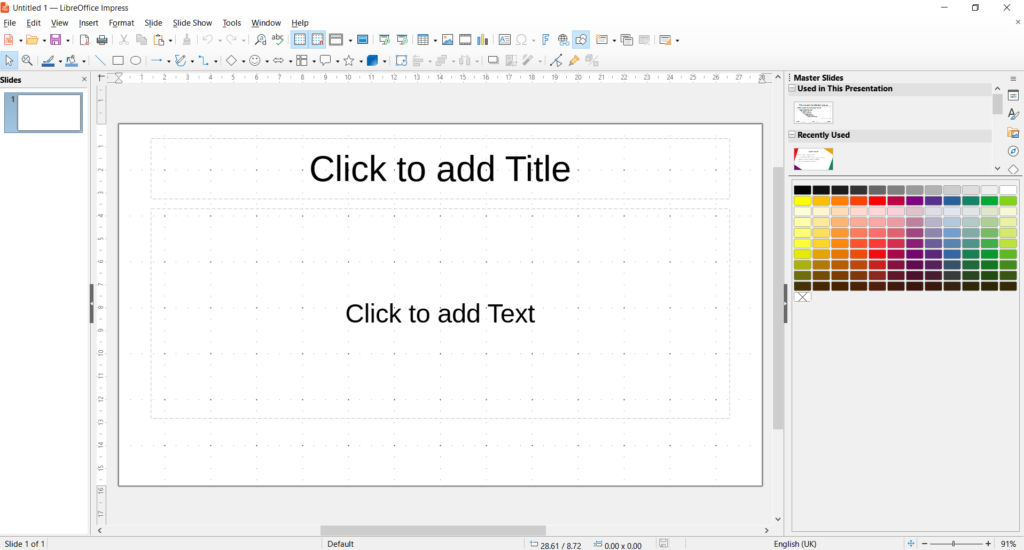
This course contains all the important techniques to create your own presentation. You are welcome to choose your topic now and use the course to create your presentation step by step.
Choose an image that reflects your topic or a part of it. Free and royalty-free images can be found under www.pexels.com or www.pixabay.com, for example.

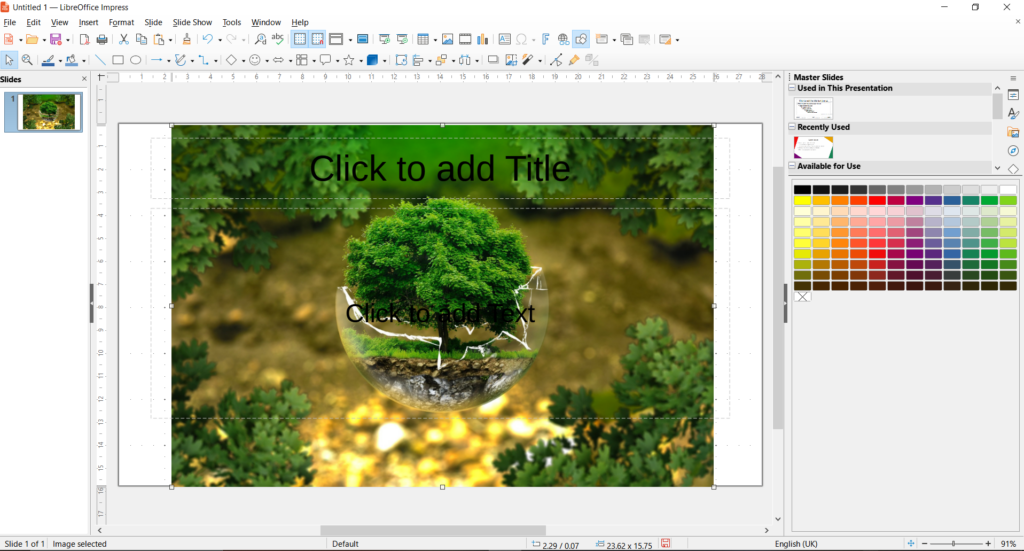
Download your image. Drag your image from the saved folder onto the slide or use “Insert” “Image”.
If you’re dragging your image from a folder onto the slide, make sure it doesn’t end up in the text area, or the formatting will change. You can also delete the text area.
Now click on the image and put it in the background. In the top bar you will find the “Arrangement” function shown on the left. Select the top right selection “all the way to the back”. With that, you’ve put the image on the furthest layer.
The first step has been taken. We now have an image in the background. Theoretically, we could now drag the image to the right size and insert a title and we’d be done. As in this case, most of the images are very mixed in terms of color and headlines, be they black, white or any other color, do not stand out very well against the background. That’s why we need a solid color box or an area with little color variation to make the title stand out.
A box for the title
Before inserting the box, the first thing we do is adjust the size of the image to fit the slide.
To do this, click on the image. If you click on the picture, there are two variants
- white squares appear at the corners and half-sides, or
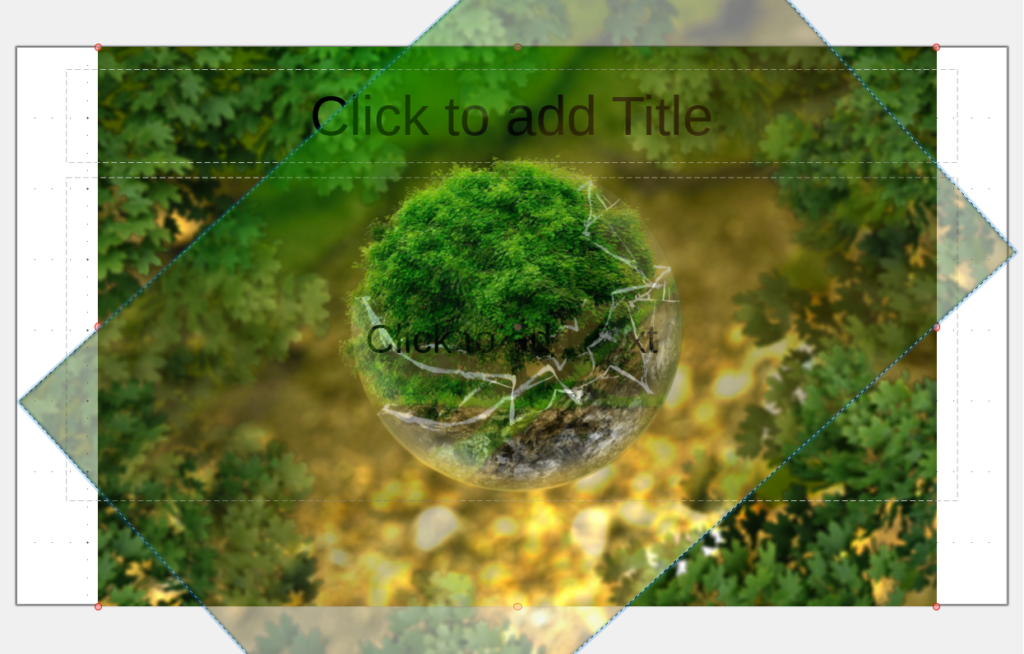
- red circles
To get from the red circles to the white squares, just click on the image again.
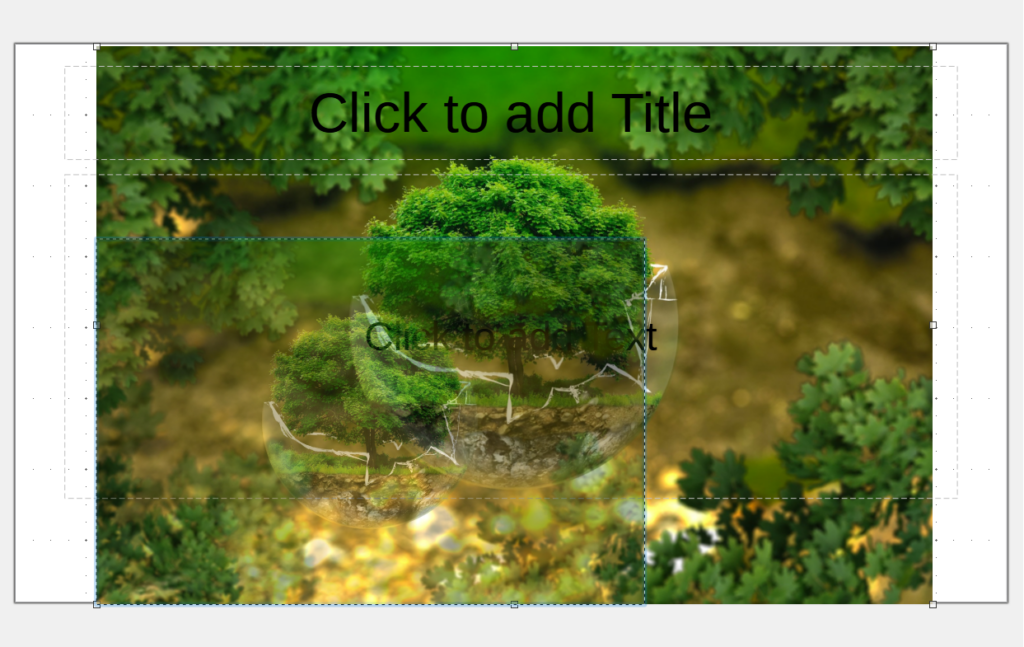
white squares appear at the corners and half-sides of the rectangle. With this function, you can resize the image as much as you like.
red circles appear on the corners and half sides.
With this feature, you can rotate the image or turn it into a parallelogram.
For our purpose, we need the white squares. Click on one of the squares, hold the button, and drag the image to the desired size. If the image protrudes beyond the edge of the slide, it doesn’t matter. However, make sure that the important elements are visible on the slide itself. You can use the keyboard shortcut F5 or the tab “Slide Show” – “Start with first slide” to check the orientation of the image.
In the left area of the bar at the top there is an icon with a rectangle. Click on it and now click on the slide and drag the rectangle to the desired shape and slide it to the desired location.
Depending on the background image, you can place it at the top, bottom, left, or right. In this example, we’ll add it below the image.
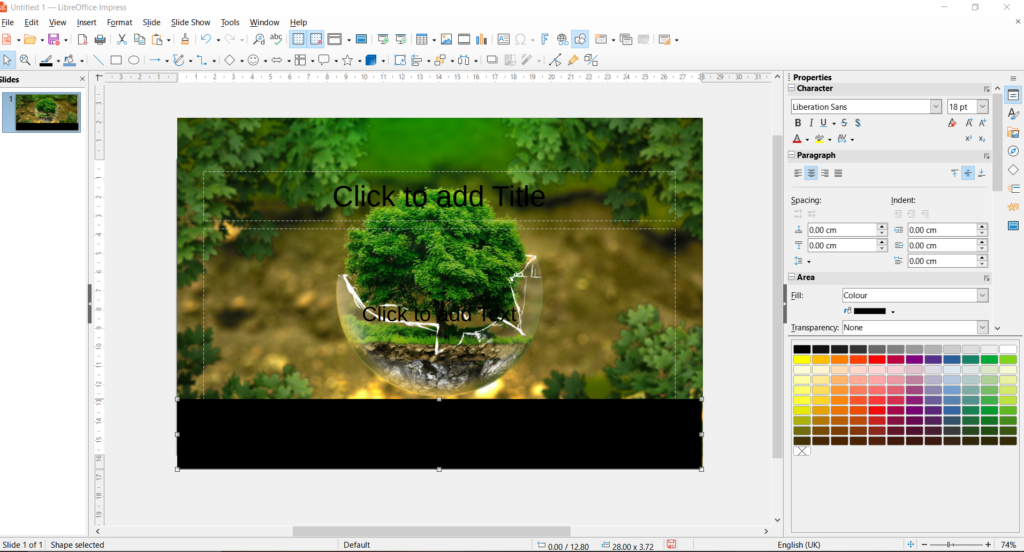
A whole new window has now opened on the right side. Here we can select the fill color for our object under “Area” – “Fill”. In this example, we’ll choose black. Scroll down to the “Line” tab and select “Line” – (none) from the first selection. Now the blue border is removed.
If you haven’t seen this new window open, click on the first icon in the rightmost bar labeled “Properties”. This function will be needed again and again during the course and is essential for editing presentations.
Creation of the title
To insert a title, you can either use the title placeholder. You can recognize this by the lettering “Insert title by clicking” or you click on “Insert” – “Text field” (F2).
Attention: If you want to use the existing title placeholder, you must first set the created box and the image in the background. Click on the image and the box (using Shift) and now go to the “Arrangement” function and select either “further back” or “all the way back”. If you select “further back”, you may have to click on it several times until the text box reappears.
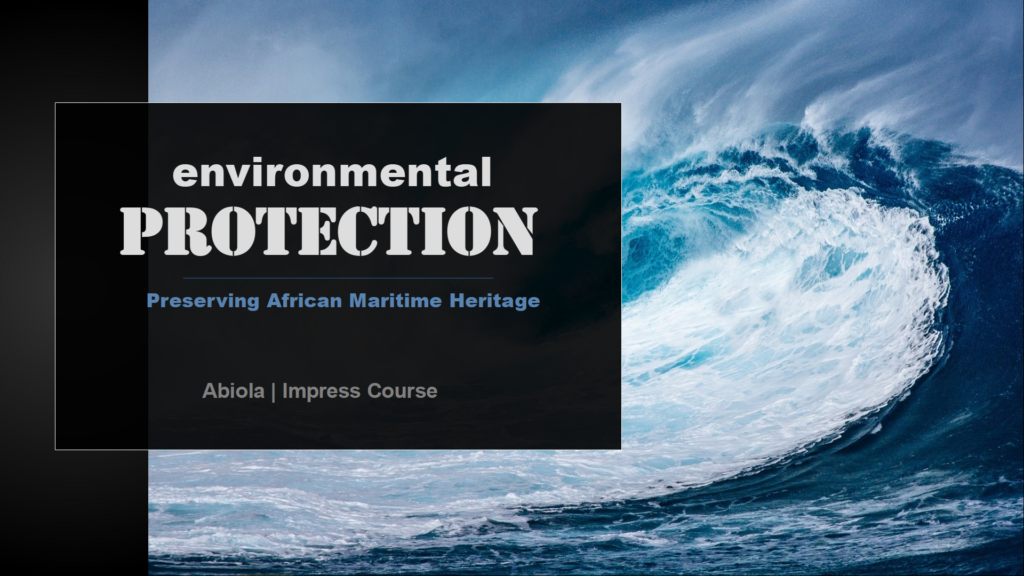
If you now click in the title or text field, editing options will appear on the right side again. Choose a font and font size that fits. For a subtitle or better design options, create another text box. Depending on the topic, it also looks good if you use two different fonts. In the example on the right, I used “Arial” for Environmental and “MV Boli” for Protection. In addition, I have added a small text field below with further information. Here you can, for example: Insert your school and name.

Especially with longer headings, it makes sense to play with the font size. Below you will find some inspiration for the text and design. As a small addition, I added a line to make the headline stand out from the subheading. You will find the line to the left of the “rectangle”. In addition, you can play with several boxes as well as the border line as in the second example.

Congratulations !
The first steps have been mastered.
