The Master Slides Function
Before we dare to design our own master slide, let’s first take a closer look at an existing template.
Open Impress and instead of clicking away the template like last time, select one this time (e.g. lights).

Once you’ve selected a template design, you’ll see three slide designs on the left. Click the title placeholder on one of the three slides. In the “Lights” document template, the font on the right is Liberations Sans in font size 33pt. This font is quite simple. For our presentation, however, we want something more upbeat. Select Lucidia Calligraphy as your new font.

You can use the icon on the left to insert a new slide. Click on it. As you can see, a new slide will open.
What font will be displayed on the new slide?
Getting Started with the Slide Master
To use the slide master and make permanent changes on all slides, click on the icon on the right.
Alternatively, you can also go to the “View” – “Slide Master” tab.
Now you switch from the “Normal” mode to the “Slide Master”.
The design is similar in both modes. However, the drop-down menu on the right now says “Slide Master”. The slides that now appear in the left bar are the existing slide masters.
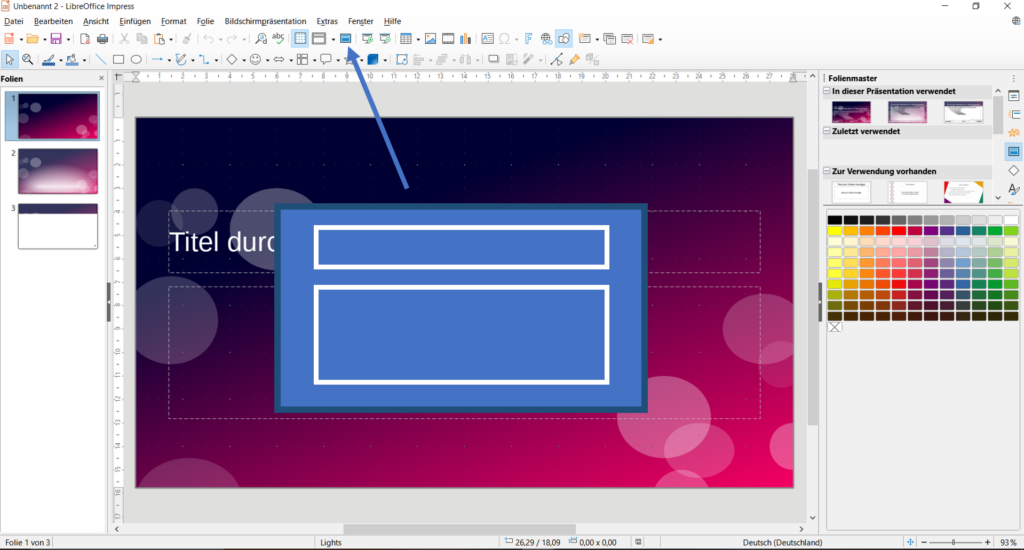
Click the title placeholder again and select “Lucidia Calligraphy” as the font. Also, create a circle, rectangle, or symbol like a heart or smiley face and place it on the slide. You can find the function under “Standard Shapes” or “Symbol Shapes” some icons to the right of the rectangle function.
Now we return to normal mode by either going over “View” – “Normal” or clicking on the arrow down “Show Views” to the left of the slide master icon and selecting “Normal” under Edit modes.
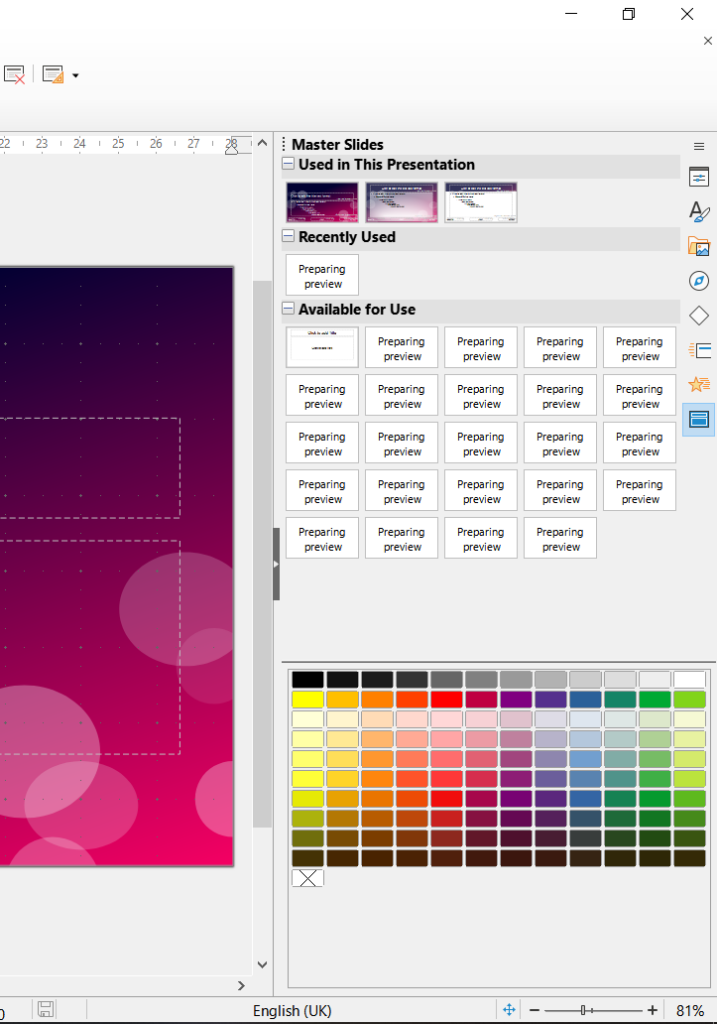
In the right bar, you will also see the blue icon of the slide master on the rightmost edge. If you click on it, you’ll stay in normal mode. However, the top row shows the available master slide layouts that you’ve already seen and edited in the previous step.
Insert a new slide and select the slide you edited using the Master Slides option on the right.
Check the font. What about your heart, smiley face or other shape? Can you click, move or delete the shape?
Slide Master vs. Normal Mode
As you may have noticed, objects that we insert into the master slide are fixed and cannot be changed in normal mode.
Exceptions to this are placeholders such as text boxes. Here, although a font and text size is specified by the master slide, we can easily change it in normal mode.
Changing Background Colors
Imagine that you like one of the designs, but the colors don’t meet your wishes.
Open a design again, e.g. Lights, and click on the master slide.
Instead of the red-dark purple background, we would like to have a shade of blue. To do this, click on the background. On the right side, the “Property” menu opens. Scroll down to the “Area” menu item. Under Fill | Gradient. Now you can click on the respective colors and replace them with another color. Give it a try!
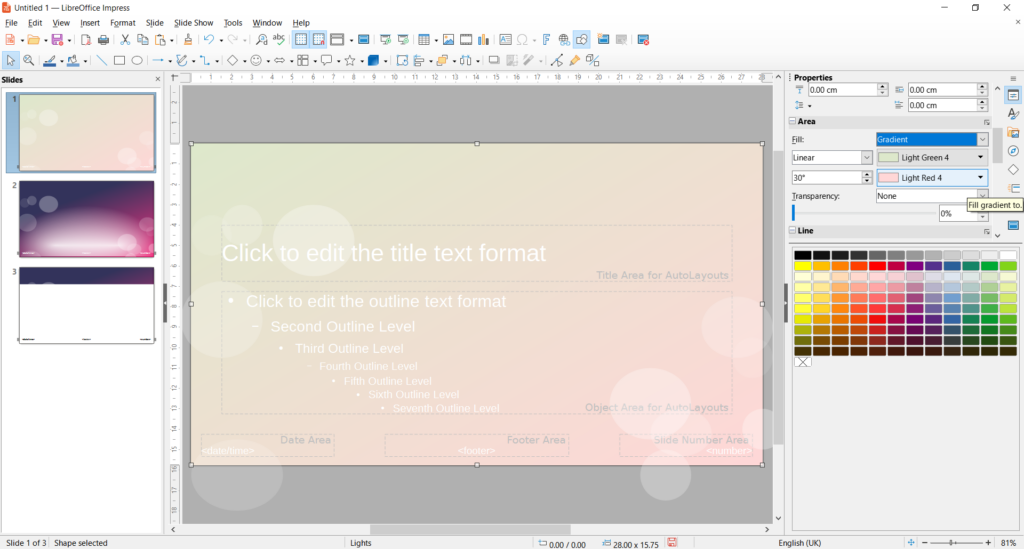
Changing the font color
Click on the title text. Now the menu appears again on the right side. Here you can select the font, color and size under the category “Characters” among other functions.
You can apply the same function to the body text below.
Note
In order for your changes to take effect on all master slides, you must repeat your changes to each existing master slide.
Great, you’ve learned the basics of the master slide!
Next steps
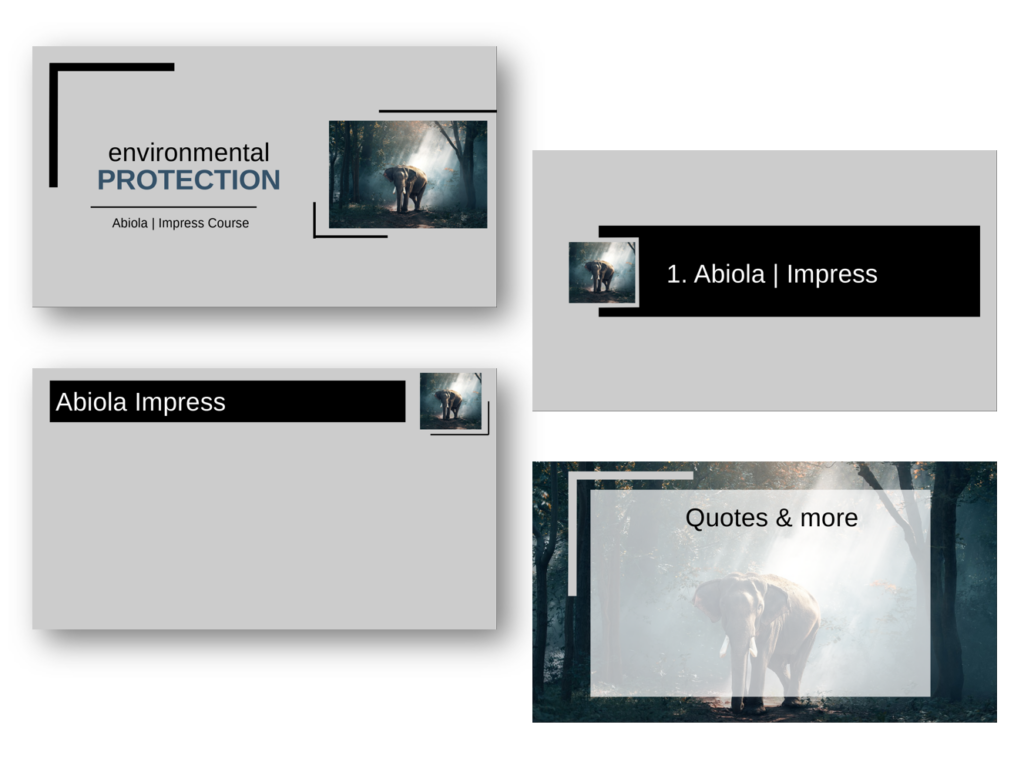
The design possibilities you can create with the help of Impress are endless. Among them are modern, simple, colorful, image-focused, vintage designs and much more.
In order to give you as broad a picture as possible of the possibilities, I will introduce you to 1 design in each of the next three steps. If you feel like exploring all the possibilities, you are welcome to work through all 3 parts. Otherwise, select one and click “Mark as complete” at the end of the other designs. Below are the three designs you can choose from:
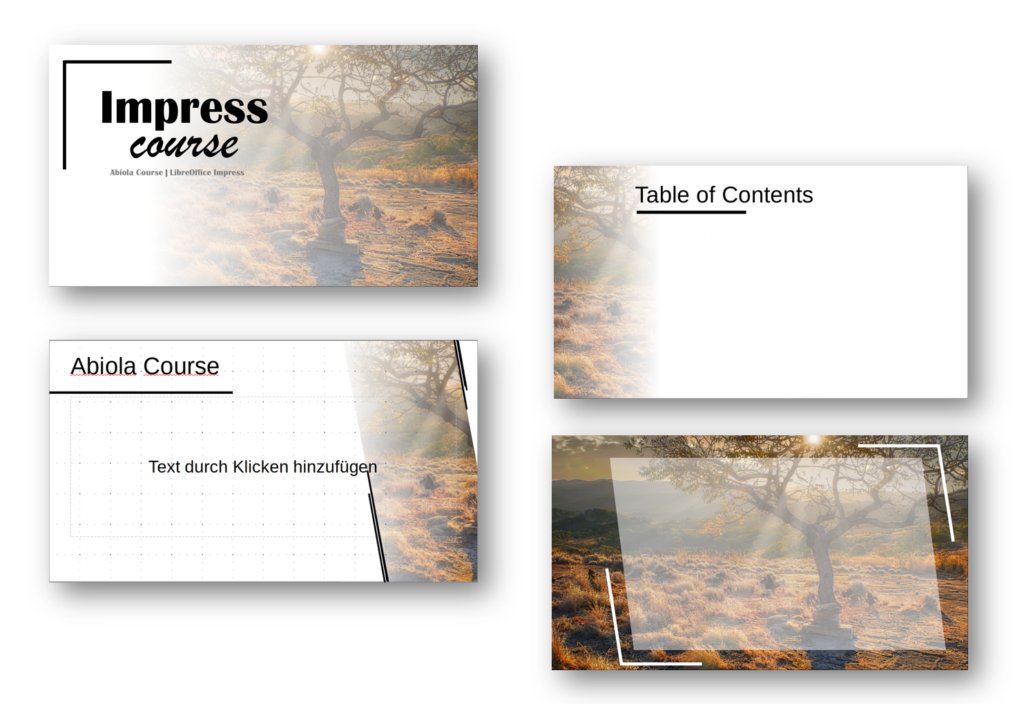

Design 1
Design 2
Design 3
