Creation of an outline
For the first outline variant, open a new blank slide. Select the rectangle function and create a shape as shown below. Don’t select a “filling.” Under the heading “Line”, set the width to 2.3 pt and choose a color that matches your design.
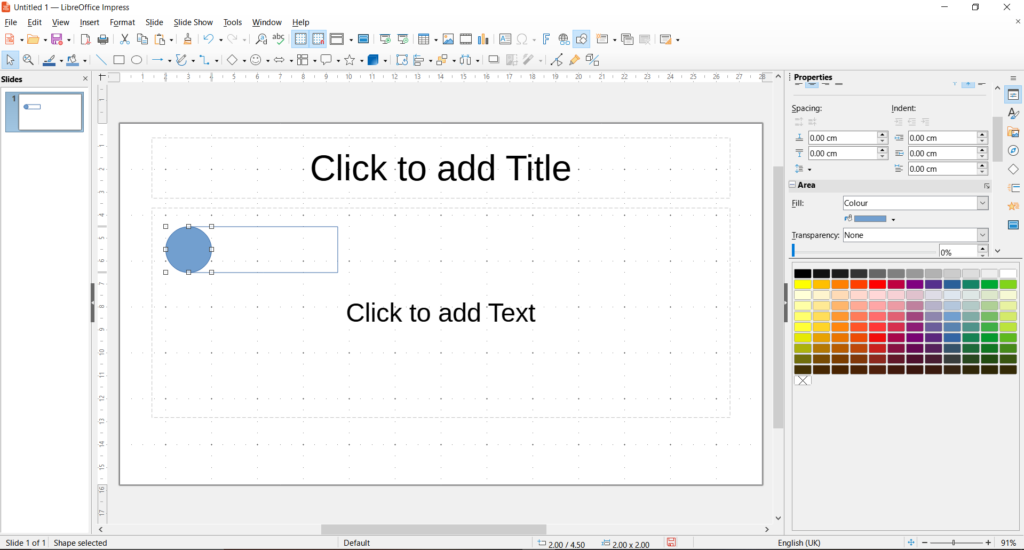
To the right of the rectangle function you will find the ellipse function. Select it and create a circle at the left end of your rectangle. Adjust the color of the fill and border if necessary.
Click on the circle, hold down the Shift key and click on the rectangle. Now you have selected both objects. Using the right mouse button or the shortcut (Ctrl+Shift+G) you can now group the two elements. Now you can move both elements at the same time. Try it out.

Grouping Function
The grouping function makes it possible to combine several objects into a single unit. Now you can move, rotate, scale, and animate all objects at the same time.
Now click on your grouped elements and copy them and drag them under each other. Create 2 more so that you have a total of 3 such elements.
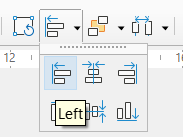
The elements are now distributed among themselves on the slide in an unstructured manner. Select all three and click on the “Align Objects” icon at the top of the bar. You can find it to the left of “Arrangement” or under the Format | Align Objects.
This feature allows you to align multiple objects at the same time. You can choose from: left, centered, right, top, middle, and bottom.
Since our objects are exactly the same objects, we can choose any of the above functions for alignment. Select Left-aligned.
Although the objects are now aligned, the distance is still unequal.
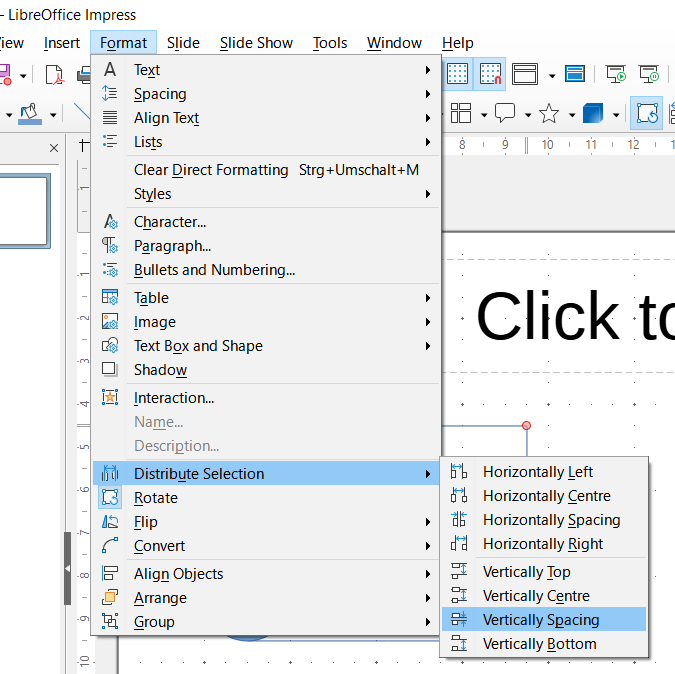
To make the spacing between the objects even more consistent, select the three grouped objects again, click Format | Distribute Selection | Vertically Spacing. Now the three objects are aligned at the same distance from each other.
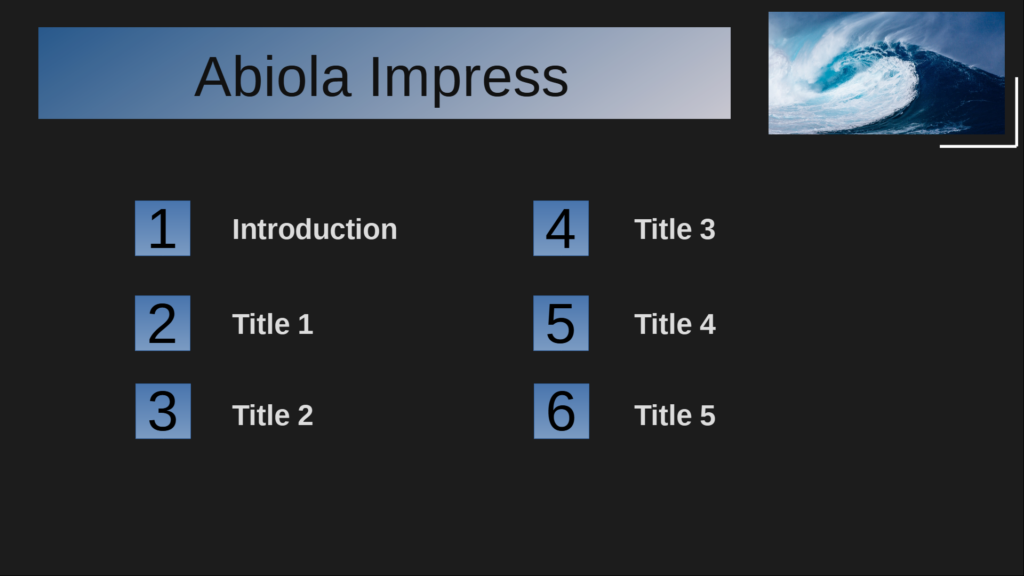
Copy the three objects and paste them at the same height and at an appropriate distance to the right. Now you have boxes for 6 bullet points.
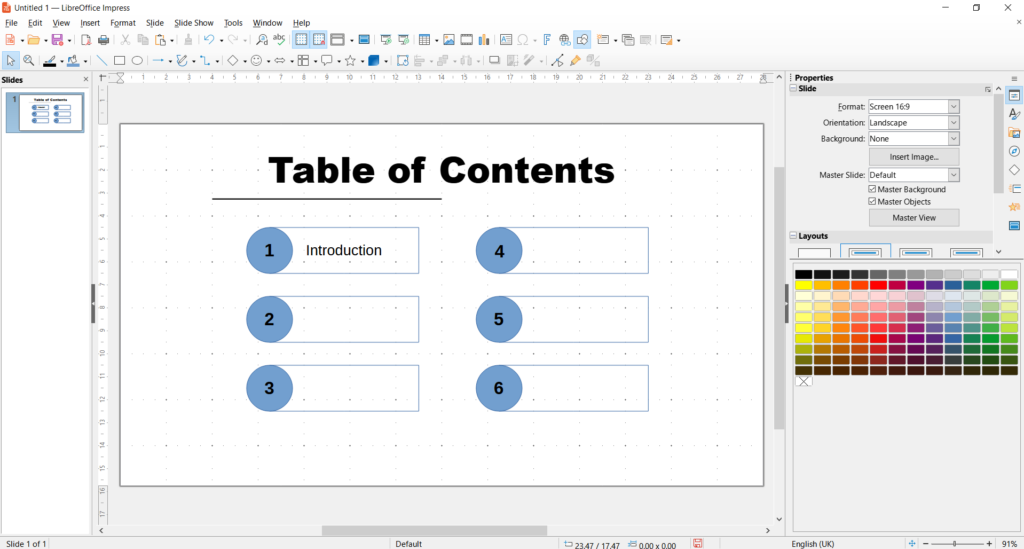
Now you can add the outline numbers as well as the titles of the bullet points.
To do this, double-click on the circle or rectangle, type in your text and adjust the font size.
More Design Ideas
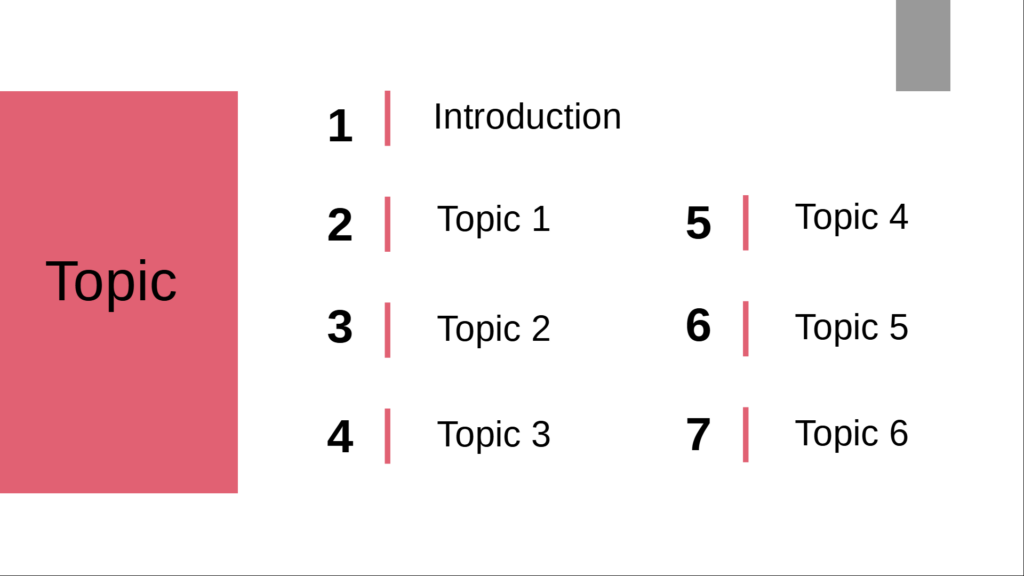
Instead of boxes, you can also use a simple line separating the outline number from the outline title.
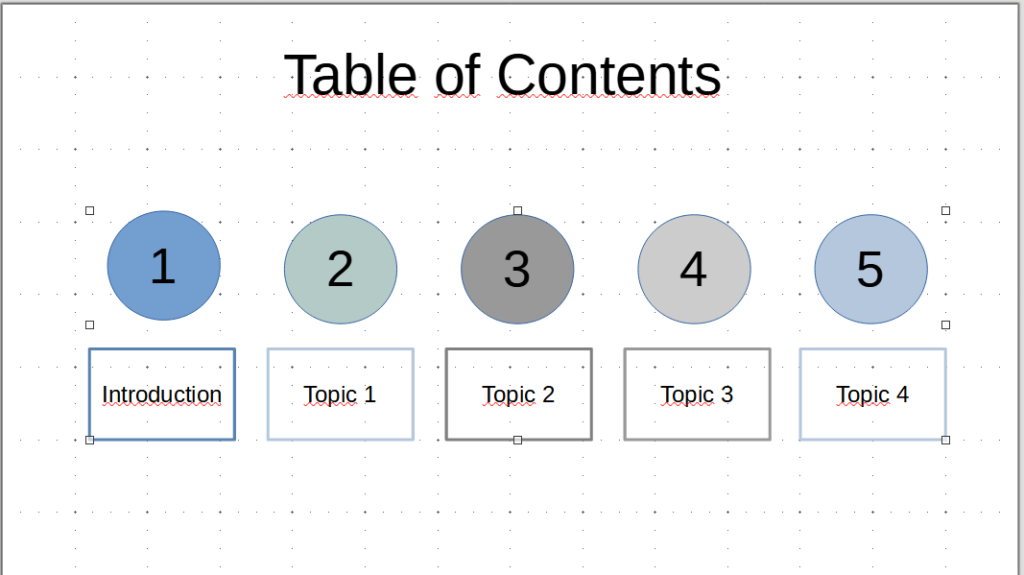
In addition, you can also position the bullet points next to each other and contrast the bullet points in color.
