
If you want to create a professional-looking presentation, then I advise you to use the header and footer function. With this feature, you can display the current date, your name or your school or company, as well as the number of pages of the slides.
Insert date
Open the “Slide Master”.
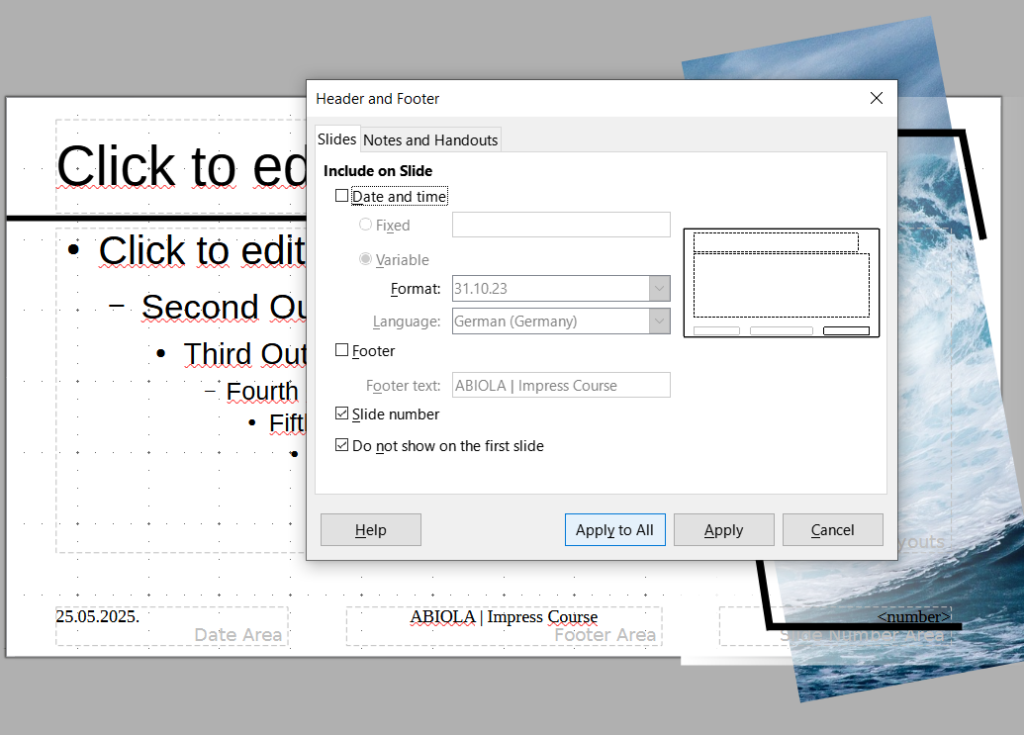
Click Insert | Header and Footer. A new window will open.
Check the “Date and Time” box. Under the “Fixed” category, the same date is always displayed. If you select the “Variable” category, the current date will always be displayed. In the drop-down menu, you can also select the design you want.
Now click on “Apply to all”.

In the lower left area of the footer, the date placeholder is displayed. If necessary, adjust the font size and type. You can also move the date field to any location.
Insert Slide Pages
Open the “Slide Master”.
Click Insert | Header and Footer. A new window will open.
Check the box next to “Slide number”. To avoid that the slide number is also displayed on the title page, check the box next to “Do not show on the first slide”.
Now click on “Apply to all”.
In the lower right corner, the placeholder for the slide page is displayed. Here you can make adjustments for the size and font. You can also move the placeholder field to any location.
Insert more information
Open the “Slide Master”.
Click Insert | Header and Footer.
A new window will open.
Check the box next to “Footer”. Under the item “Footer” you can enter your text. This can be e.g. the name of your school, the title of the presentation, or your name as the presenter.
To avoid that the slide number is also displayed on the title page, check the box next to “Do not show on the first slide”.
Now click on “Apply to all”.
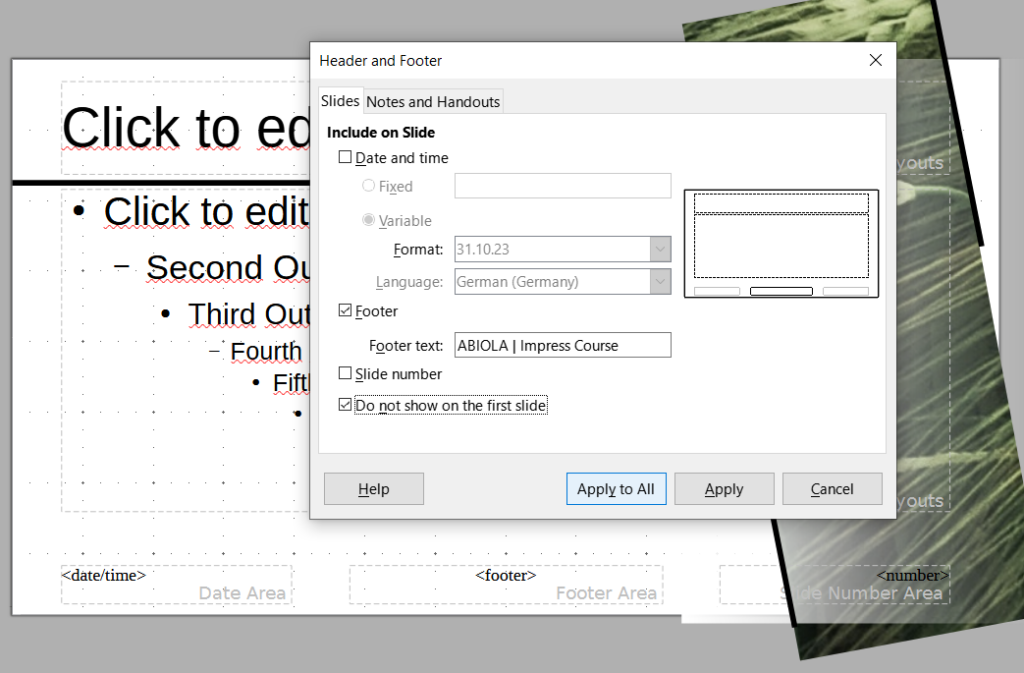
At the bottom center, the placeholder for the footer text is displayed. Now you can adjust the size and font and move the placeholder to any location.
Note that you’ll need to repeat the font size, type, and move on all sides of the slide master.