First of all, congratulations on completing the course.
Here you will find a brief overview of the most important functions that you will need regularly when editing presentations.
Key features
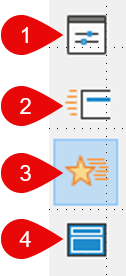
The most important functions in the right bar

- Settings
Font | Font size | Borders | Paragraph – but also slide layout - Slide Transitions
- Animations
- Selection of master slide designs
(Attention: you can’t edit master slides here!)
The most important features in the top bar
Insert new slide and more

- Add a new slide
- Duplicate Slide
3. Delete slide
4. Choose Slide Layout
Open Slide Master

Use this icon in the top bar to open the slide master menu
Normal Menu

You can use the icon on the left to switch from the slide master back to the normal menu.
However, you can also use this menu to go to the slide master menu. or use the notes function.
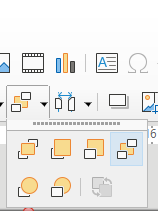
Background | Foreground

In the bar you will find the symbol with the two white and the beige squares. The beige square stands for your selected object.
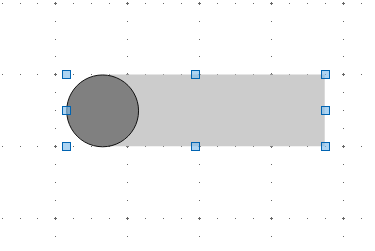
On the far right you will find e.g. the “all the way back” function. This puts your object in the background. The leftmost function “All the way to the front” puts the object in the foreground. The other icons allow for further gradations.
Crop Image

Click on the image you want to crop. Now click on the icon on the left in the top bar.
With the black markers, you can now crop the image to the desired size. Click on the icon again to confirm the cropping.
Other features
Resize image

Click on the image you want to reduce.
Now white squares appear at the edges.
– red circles appear, click on the image again
Now click on one of the squares at the corners and drag the image to the desired size.
Rotate Image

Click on the image you want to rotate.
Click on it a second time until the red dots appear at the edges.
Select one of the points at the corners, click on it, and rotate the image as you like.
Group

Select the objects you want to group.
Now click on “Format” – “Grouping” – “Group” in the top bar
