Are you ready for the next level?
In the last few lessons, you have already learned the most important basics.
Are you ready for a more complex design? Perfect!
#1 Three images with transparency gradient
You’ve already learned how to create a transparency gradient. So far, however, we have always used an image that covers the whole background. Now let’s use three equally sized upright images. This can either be the same image three times or three images of the same size and harmoniously matched.
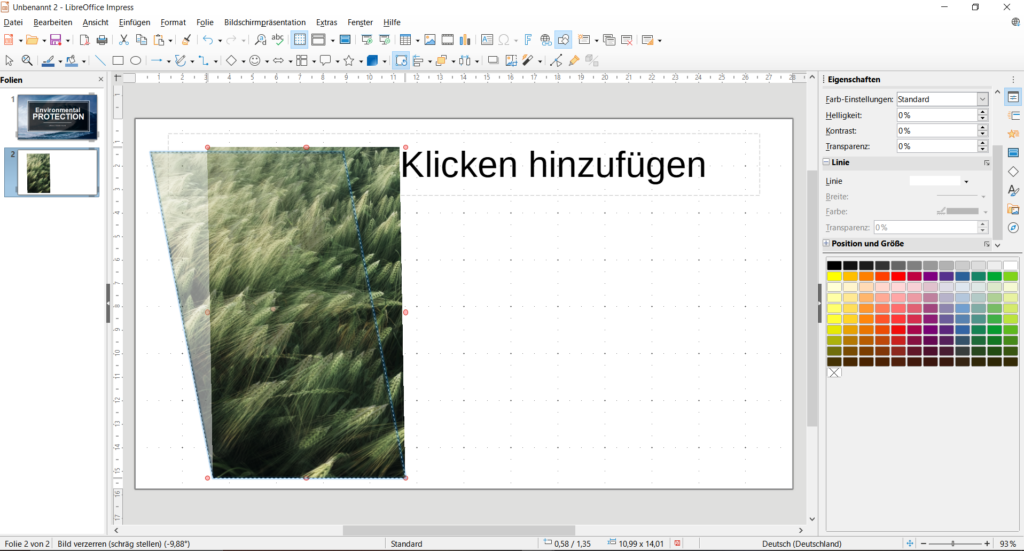
Paste the image onto your slide and double-click on the image so that the red circles appear. Now click on the middle upper circle with your mouse and drag it to the left. The rectangle is now a parallelogram. Click the image again and copy it with Ctrl+C and paste it twice with Ctrl+V. Now move the three images so that they are evenly spaced next to each other. It doesn’t matter if something sticks out of the foil.

If you have three different images, position them next to each other at the same distance and make sure you drag them at the same angle to the first trapeze.

Now click on the first picture on the left. On the right, the options appear again. Under Properties | Image | Transparency 60%. Click on the second image and repeat the process with 30% transparency. Now we already have a nice progression.
Select a rectangle and position it so that it covers the entire size of the slide. This rectangle will serve as a background for us. Now choose a subtle color for that looks good in the background. Under Properties | Line | Line the empty field or none and set the rectangle to the background.
Now insert a rectangle again, remove the line and position it on the middle left side. You choose a neutral color of your choice (e.g. black or white) and insert your title.

#2 Transparent box for the title
So far, the image has always dominated the slide. Now we just want to have the image discreetly in the background and the headline emblazoned dominantly in the middle of the slide. You have already learned everything you need for this.
As usual, we choose an image for the background, insert it and enlarge it so that it covers the whole slide. In the next step, select a rectangle again. Choose black as the fill, 50% transparency throughout, and add a white line with 4.5pt under the “Line” category.

Place this rectangle nicely in the middle, but in such a way that the picture is still clearly visible on the sides (see picture on the left).
Now let’s copy the rectangle again. Click on the rectangle you have designed and copy it either with Ctrl+C or with the right mouse button “Copy”. Paste it with Ctrl+V or via the right mouse button. Now, if you click on the new rectangle, you can move it. For the second rectangle, change the line to 2.3pt and make it a little smaller so that it fits nicely into the first rectangle. Now add your text as usual.
Do you have any idea what you need to change to create the following designs?


