
To create our own master slide, open Impress again and don’t select a template object. In front of you, you see an empty presentation again. Open the slide master as you learned in the last step.
A normal text slide
For starters, let’s start by designing regular content pages.
For this image-focused design, select at least 3 images that reflect your presentation theme. For this design, it is important that these are images where even a small section is enough to understand the overall picture. Landscapes, cities or pictures with a lot of details are suitable for this.
Here are a few examples:


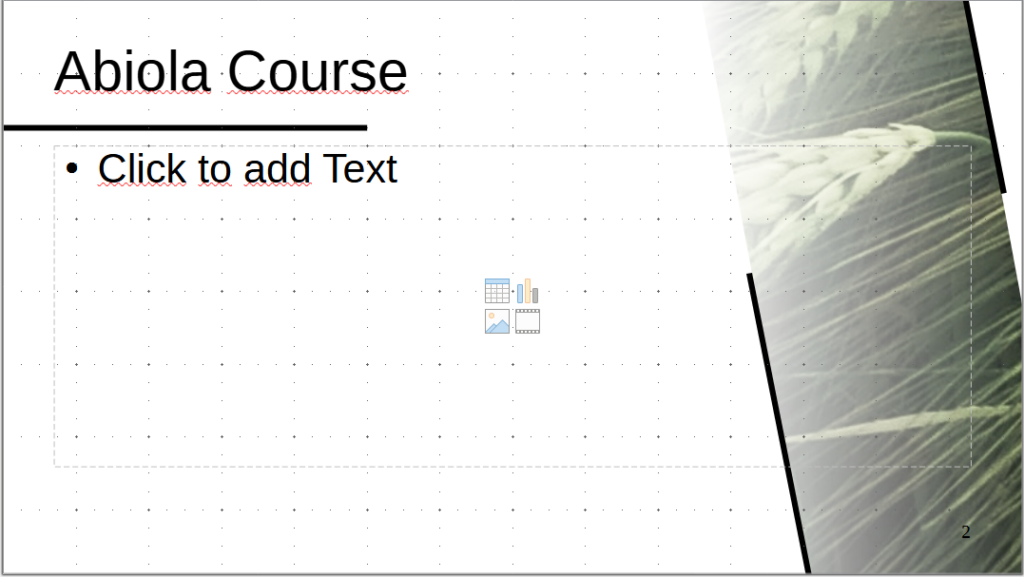
Select a rectangle. Use the function with the red circles and rotate the rectangle as shown in the image on the right. Adjust the length and size if necessary. Make sure that the image is over the edges and that it is right-aligned and does not take up too much space of the slide. Remove the line at the edge.
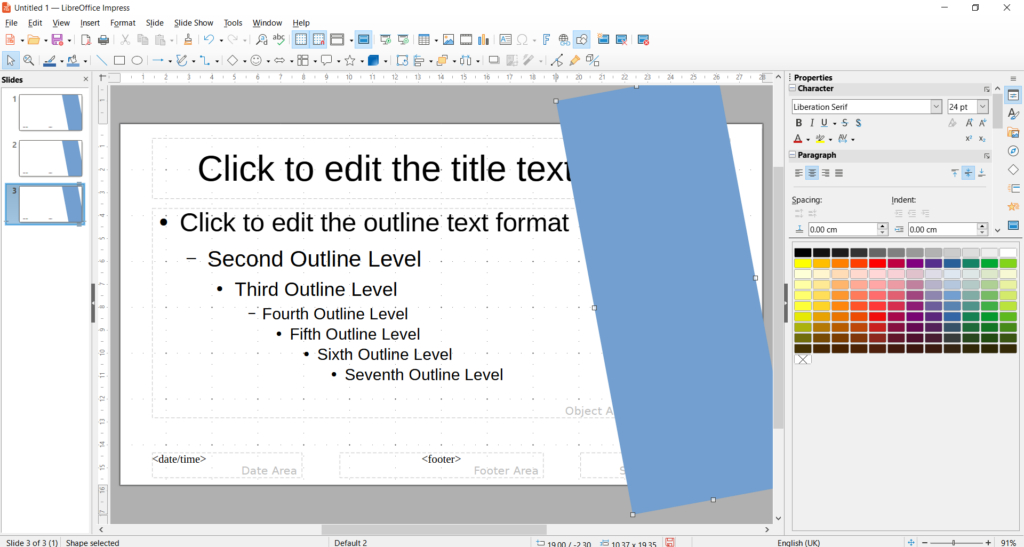
Click the rectangle. In the right area, under “Area”, you will find the category “Filling”. Instead of the “Color” setting, select “Bitmap”. Now you can select one of your images under Import.
Now you will see a section of the image in your rectangle.
Note:
Unfortunately, you can’t move the image section with this procedure. Alternatively, you can insert an image, rotate it, and crop it as you like. However, when using multiple images, the challenge is to display the images in the same size and position so that the design looks consistent across the slides.
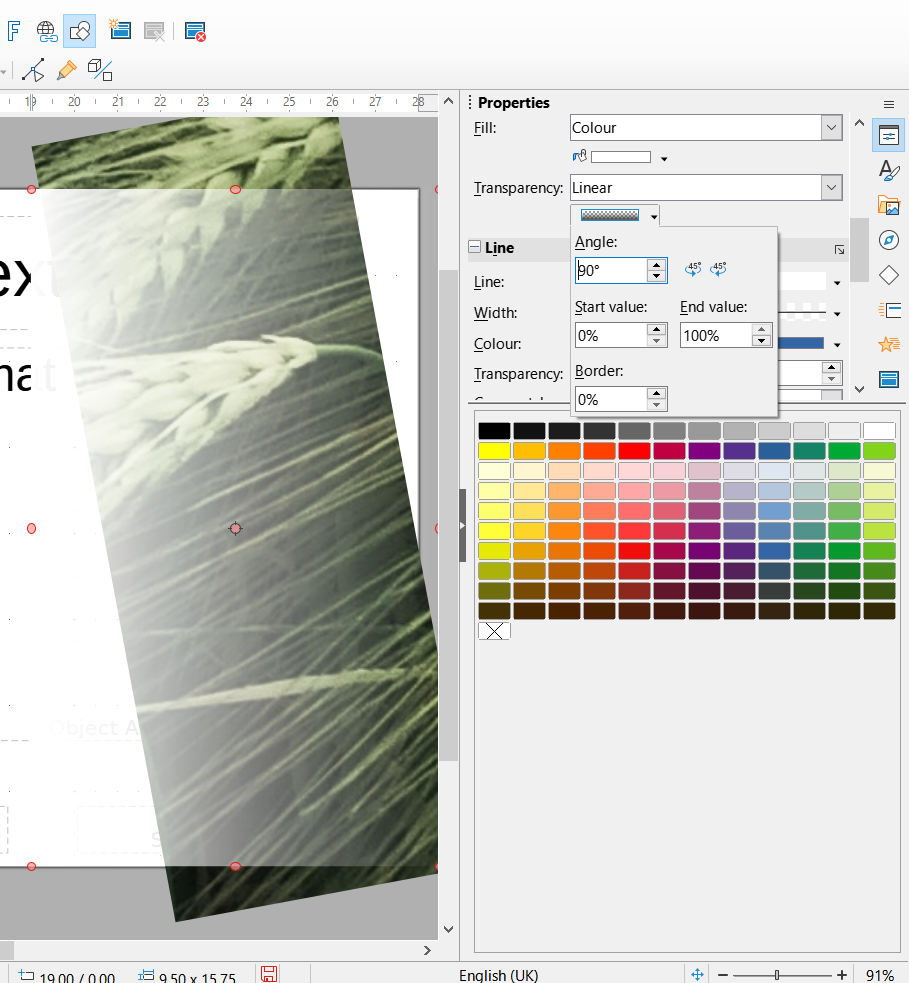
For a more beautiful effect, we use the transparency function. To do this, select a rectangle again, remove the (border) line and select white as the color. Place the rectangle over the image.
Under Area, select Transparency | Linear.
Click on the box below and type “90” in the “Angle” category.
Click on the transparent rectangle, hold down Shift, and click on your rectangle with image. Now put the two highlighted objects in the background.
Instead of using a transparent rectangle, you can also apply the transparency properties to the image itself:
Click the image on Properties | Area | Tranparency | Linear
Click on the box below Angle | 90°
How to spice up the design
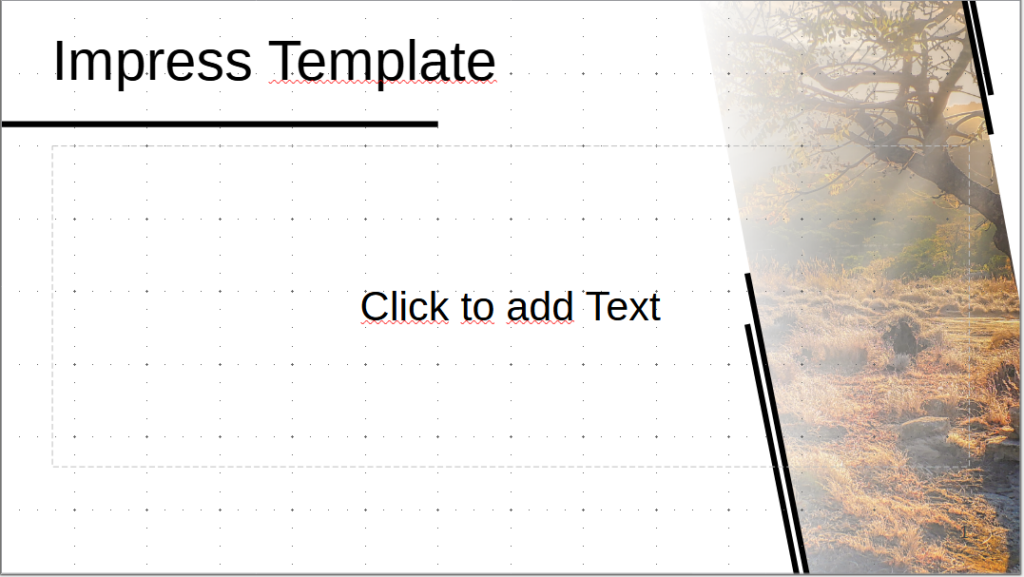
To make the headline stand out a bit, click on “Insert Line” (to the left of the rectangle) and drag a line just below the heading field from the left edge to about 1/3 into the slide. In the right bar you choose black as the color and 4.5pt as the width.
Copy the line or create a new one. Draw one or more lines along the edge of the image and vary their heights. You can also insert a horizontal line like in the example. 2. Click on the text boxes and put them in the foreground.
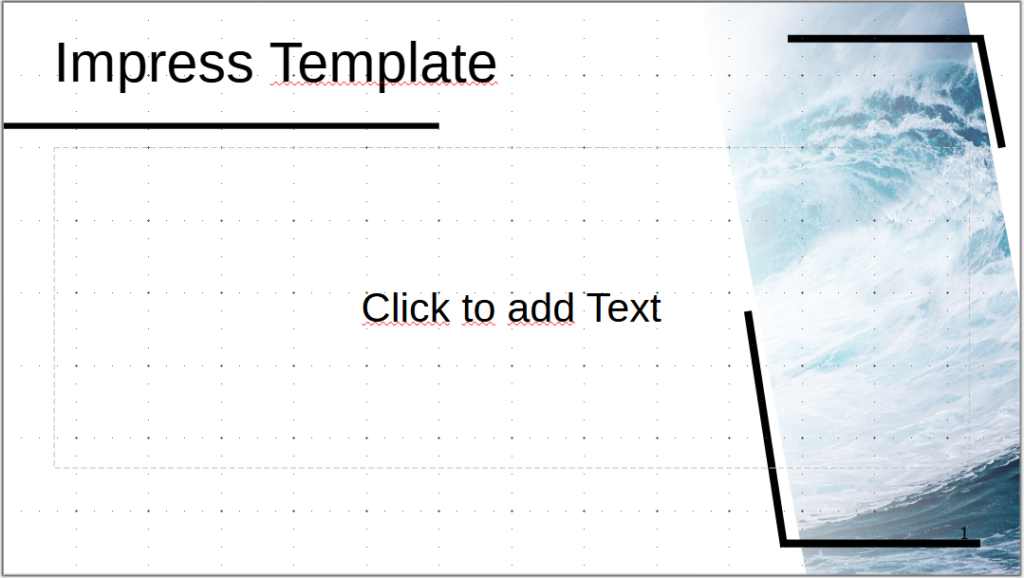
Add a new master slide by clicking on the master slide icon with a small star in the top right of the bar.
Copy your design with the lines, image, and transparency slide. Now you can click on the image again, go to “Fill” – “Bitmap” and import another image of your choice.
Repeat this process for all the images you want to insert.
Customization of text fields
As you can see, the text boxes are inserted into the image. You can adjust the size of the text boxes by clicking on them. Now squares will appear at the corners and sides. Click on a square on the right and drag the box to the size you want so that it doesn’t protrude into the image.
Under “Characters” in the right bar, you can now select the font and color for the headline and text.
A very useful adjustment in this design is to set the heading text left-aligned. To do this, click on the heading text field. In the right bar, under “Paragraph”, you can arrange the text to the left.
More Master Slides
Impress’s master slides typically consist of 1-3 slides. Underneath is usually a title and content slide. For more professional templates, around 15 master slides are integrated, which are tailored to specific needs. For example, there are slides specifically for outlines, transition slides that introduce a new chapter, slides for quotes, images, and other media, each with its own design.
With the three different images, we have already built in some variety. It makes sense to add the title slide and a blank slide. The creation of additional slides depends on the needs and can be adapted spontaneously and quickly.
Insertion of the title slide
Insert a new master slide. In the previous lesson, you already created a suitable title slide design. Copy and paste the design into the master. Make sure that you arrange the text boxes to match the title slide and that everything is set in the background in the right order.
To match this design are the following title slides:


Inspirations for further designs


Master slide design for citations and longer texts
Master slide design for outline
Master Foil Design for Transition Foils
Can you figure out on your own how these designs are created?
Congratulations!
Now you are no longer at the mercy of the already given templates,
but you can create your own design.